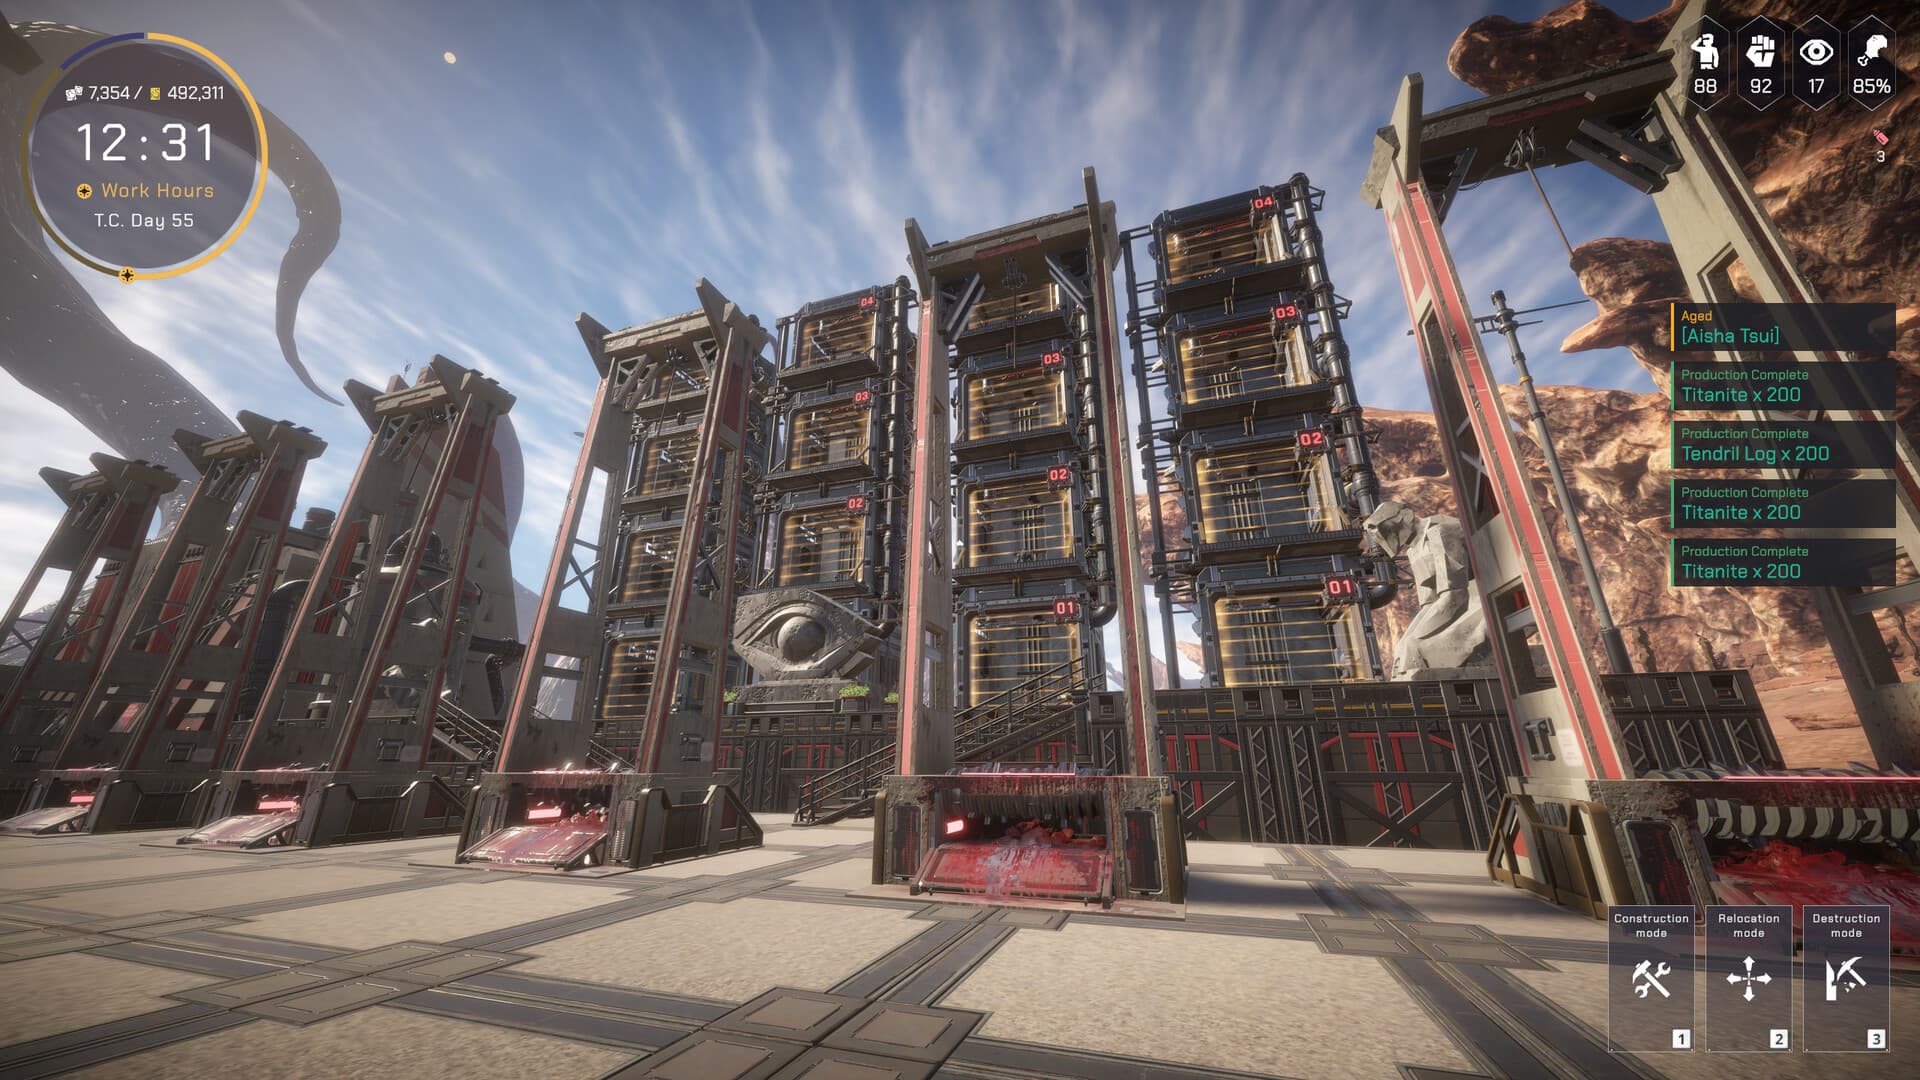
The best Pax Autocratica base layout is not a single blueprint. It is a staffed production network with short, readable paths and enough spare space to survive new buildings, larger units, and changing priorities. Build 24747486 supports more flexible construction than older Demo layouts, but it still rewards deliberate zoning and regular route checks.
Layout Principles That Hold Up
Start with flow. Every useful chain has an input, a worker, a processing location, an output, and a destination. A visually compact base can perform poorly when storage sits on the wrong side of several staffed buildings or when a busy corridor forces long detours. A larger, plainer layout often works better because its routes are visible and easy to change.
Use four durable principles:
- Keep frequently exchanged materials close to the buildings that consume them.
- Leave direct corridors between storage, food, workshops, and transport facilities.
- Reserve open edges for buildings that have not been unlocked yet.
- Test a zone while it is small enough to understand.
The colony is active while the player is away. That makes observability important. You should be able to look at a district and understand where citizens enter, where materials wait, and where output should go. Decorative complexity can wait until the chain has completed several normal cycles.
Build Functional Zones
Functional zones reduce the number of competing paths without requiring a rigid city grid. A food zone can place production, service, and nearby storage in a legible sequence. An equipment zone can group the Armor Workshop and Weapon Workshop near the inputs they share. A civic zone can keep Victory Square and other high-use administrative buildings accessible. A prison zone needs capacity, safe access, and room for future changes to the conversion system.
Zones should be connected, not isolated. Citizens still need to move between work, food, housing, storage, and administrative tasks. The goal is to shorten repeated hauling while avoiding one narrow choke point for every trip. Give each major zone at least one clear connection to the main route and preserve an alternate route where terrain allows.
Place storage by traffic pattern rather than symmetry. A central Warehouse can be useful, but a single center also creates long spokes and concentrated traffic as the base grows. It can be more effective to keep the main reserve central and place specialized storage or transport support near distant production. Observe actual movement before duplicating infrastructure.
Roads, Slopes, and Foundations
Current construction tools include height adjustment, drag-to-build behavior, continuous placement for common pieces, improved snapping, and a 5x5 Foundation option. Corner stairs and tall corner stairs make vertical connections more flexible, while flatter starting conditions reduce some of the terrain frustration described in old Demo advice.
Use foundations to create reliable building surfaces, then treat slopes and stairs as part of the traffic plan. A connection that technically snaps into place may still be unpleasant for repeated movement or difficult to read from the player's normal camera. Walk the route after construction. Check both directions and watch citizens use it during a busy period.
Continuous construction is convenient, but it can also consume space before the purpose of that space is clear. Lay the minimum reliable platform for the current zone, preserve a marked expansion side, and extend after the building footprints are known. This limits expensive demolition and keeps future paths from becoming improvised gaps.
Plan for Hauling and Large Units
Hauling is the hidden geometry of the base. A production building can look perfectly positioned while losing time through a long material route. Watch where the worker waits, where the hauler approaches, and whether the output repeatedly travels across the busiest part of the colony. Move a storage relationship or assignment before rebuilding an entire district.
Large Elite and Boss-sized units have also created collision problems in base spaces. Post-launch work improved that behavior, but a dense corridor can still become uncomfortable when large bodies, workers, and the player share it. Keep high-frequency paths wider than the smallest connection that fits. Avoid placing interactable fronts directly opposite each other across a narrow lane.
The player route matters too. Victory Square, Food Hall, Prison, equipment interfaces, and departure preparation are visited often. A layout that saves citizens a few steps but forces the player through a confusing stack of ramps every cycle may not be a good operational layout. Balance automated movement with the manual route used to issue decisions.
Symmetry and Expansion
Strict symmetry is fragile because building footprints do not all cooperate with one center line. Current community observations describe an odd-width Victory Square alongside structures with different even and odd widths. That specific grid measurement has not been reproduced here on Build 24747486, so do not treat an exact number as a guaranteed planning constant.
The practical response is to use visual alignment where it helps and functional offset where it does not. A building can sit one cell off an ornamental axis while its entrance remains aligned with the main path. Another option is to give each zone its own local center rather than forcing the entire colony onto one global mirror line.
Reserve space with purpose. Label one edge for prison growth, one for production, and one for housing or civic expansion. Open ground without a planned use tends to disappear under short-term fixes. A named reserve is easier to defend when the next unlock arrives.
A Safe Layout Review
Review one district at a time. First identify the chain it serves. Then follow a single unit of input from storage to processing and onward to its final use. Note every wait, crossing, blocked lane, and unnecessary change in height. Repeat during a normal workload rather than an empty pause.
Use this checklist:
- Every staffed building has a clear input and output route.
- Food production and food service are connected by actual delivery.
- Main paths remain readable with citizens and large units present.
- Slopes and stairs work in both directions from the normal camera.
- High-use player interfaces are easy to reach.
- Each zone has a planned expansion edge.
- A single new building will not close the only corridor.
Make the smallest correction that resolves the observed failure. Move storage, open a lane, change an assignment, or add a connection before rebuilding a working zone. Without a current controlled save and measured building grid, no layout should be advertised as the one optimal design. A strong layout is the one whose routes remain understandable when the colony becomes busy.